Showing posts with label chic. Show all posts

Thursday, October 04, 2012

Indonesian Cooking Class

One thing I have really enjoyed doing over the past 4 years has been taking cooking classes with CHIC. I have taken Persian, Mexican, Japanese, Indian, fusion, and baking classes. This week I was able to take a new class –– Indonesian!
 One of the early trips our family took was to Bali and we absolutely loved the food, so I thought this would be a good opportunity to learn how to make some of our favorites at home. While I did not learn how to make Matt's favorite Indonesian recipe, Nasi Goreng, I did get to try first hand in making four other recipes.

First up was Kari Ayam, an Indonesian chicken curry.  This recipe was full of many flavorful spices––  cardamon, cumin, star anise, coriander, turmeric, ginger and curry powder –– along with chicken, shallots and potatoes. Sadly, the recipe also included coconut milk, which I am allergic to, so I only was able to take a small taste before having to scratch the hives on my hands.

The chicken was sauteed in all the yummy spices before adding the coconut milk.
This dish, best served over rice, is totally up Matt and Chris's alley. (Like father like son!)
Next up, was our personal family favorite, Chicken Satay.  It started off making the peanut sauce and ending grilling the chicken skewers right on the stove. This will be a must try at home.

First we had to brown raw peanuts for the sauce.
After browning, we ground the peanuts and added sugar, lime, salt, chili powder, water and kecap manis (a dark sweet soy sauce). This all went on the stove to cook until thick and bubbly.
Next you take some of the sauce, along with some more kecap manis, chili sauce and sweet chili sauce, and marinate cut up chicken pieces. You then skewer them and grill.
 Serve with the peanut sauce and you have an awesome dish.
The third dish we made was Gado Gado, an Indonesian salad. This was by far the easiest dish. Basically you steam any vegetable you like, hard boil some eggs, cut up some tomatoes, carrots, lettuce and atsu-age (thick, fried tofu) and put them on a plate. Serve with peanut sauce and you are done.
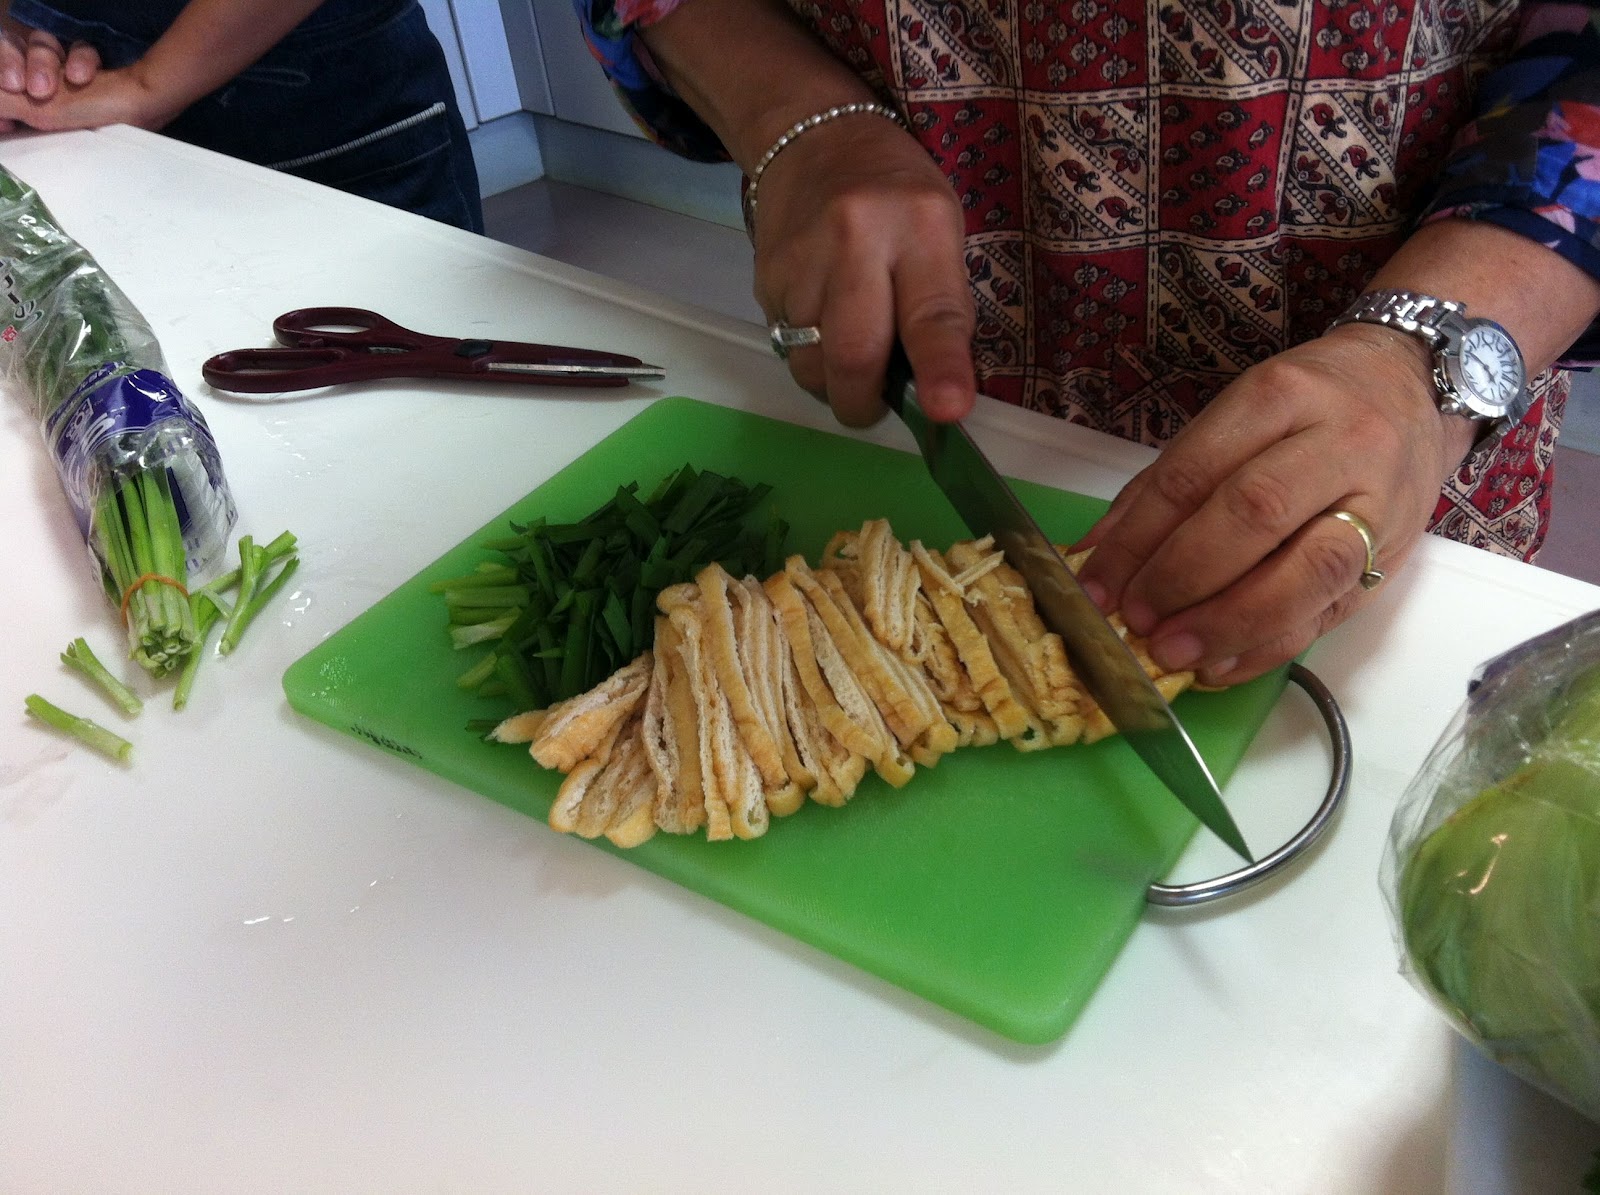
 Last, we made Vietnamese Spring Rolls. While this dish isn't specific to Indonesia, who can't help but love spring rolls? The inside of the rolls is a mixture of abura-age (thin fried tofu), cucumber, spring onions, lettuce, shiso leaves and glass noodles.
All these items are then rolled in rice paper. The rice paper is quite tricky and as you can see, I need much more practice. 
The spring rolls are best served with sweet chili sauce. Yum!
After 2.5 hours of learning how to cook these recipes, we finally were able to sit and enjoy ourselves.
 I've signed up for two more cooking classes in November–– Persian and Cajun. I can't wait.

Monday, May 30, 2011

Mexican Cooking Class

It is hard to believe when Matt and I first started dating I barely could make a box of macaroni and cheese or jello. To my defense, I was a freshman in college so I really didn't have to know how to cook anything. Over the years, I have learned to cook pretty well, so I was excited to come to Japan and be able to take a bunch of the cooking classes that CHIC  offers. 

Last week I took another Mexican cooking class. Yes, I know how strange it sounds that I take Mexican cooking classes in Japan. The classes are taught by a man named Greg, who is great at cooking authentic Mexican dishes. This is my third cooking class with him and my mouth is already watering thinking about the class being offered this fall.

This class focused on fajitas. We made two different beef marinades and two different chicken marinades. All of them were yummy, but then again when can you go wrong with meat soaking in tequila or beer. We also made a variety of topping and dips, including regular salsa, pico de gallo, mango salsa and guacamole.  If this wasn't yummy enough, we finished off the meal with homemade tortilla chips, flour tortillas, refried beans, Mexican rice and nachos.


I meant to take pictures of the finished food on my plate, however I was so involved with eating that I forgot to get my camera back out. Guess it is a good excuse to have to take the next class!

Friday, February 12, 2010

German Cooking Class

One of the great things about living here are all the cooking classes CHIC offers. Recently I took a German cooking class, featuring "winter menu" foods. The only thing that could have made this class any better would have been a nice tall German beer.

We started the class off making Schwarzwaelder Kirsch Becher (Black Forest Cherry Cups). The dessert tastes better if they set for at least an hour so it made sense to make them first.

Next, we made Mixed Salad with Bacon and Mushrooms. It was a delicious mixed green salad with a homemade mustard vinaigrette dressing and warm mushrooms and bacon.


A Kartoffelgratn it Saurer Sahne (Potato Gratin with Sour Cream) came next. It was very easy and to make it a bit fancier, each serving was made in an individual ramekin dish.


The menu consisted of two main dishes, although our teacher told us that normally you would only make one. However, she wanted to teach us both, and who was I to complain about two main dishes?

The first one was called Rinderrouladen, or in English, Beef Roulade. It is a piece of thinly sliced beef with onions, pickles, mustard and fresh thyme rolled inside, then sauteed in a vegetable cream mixture. In the end this mixture is turned into a vegetable cream sauce and served with the beef. I was a bit worried about what exactly this would taste like, but I really liked it. I think if I could make this without the kids watching me, they would really enjoy it too.

The second main dish was Schweinefilet im Speckmantel, or as we called it, Pork Fillet Wrapped in Bacon. This was my favorite of the day. We braised the meat on the stove and then made a garlic and walnut cream sauce to be served with the meat. It was like heaven in my mouth.


We steamed some fresh vegetables and our meal was complete!


If anyone wants one of these recipes, post here or email me. I would gladly send them to you. Not a menu for quick weight loss obviously. In a few weeks I am going to another German cooking class. This time it is a traditional Easter menu. I can't wait.

Monday, November 30, 2009

John Dix Kiln

Japan is known worldwide for its fantastic pottery. Hence the reason why I brought my dining room hutch empty when we moved here. Each region of Japan is known for a particular type of pottery, such as earthenware, stoneware, glazed pottery, glazed stoneware, porcelain, blue-and-white ware, and enamelware. You can buy generic pottery at almost any store for very pretty cheap or you can go to a specific region and buy a more "homemade" piece, which can run you anywhere from $100 all the way to $2000 and above.

Today I went on a day trip with CHIC to John Dix's kiln, a little over an hour outside of Kobe. It was a beautiful drive out into the countryside.

John Dix is an American from Michigan who studied with potters in the United States, Greece, and Israel before coming to Japan 20 year ago. His work is beautiful, drawing from his different experiences.

His studio and kiln are tucked away in a wooded little corner next to an old, small shrine.

All around the grounds were different pieces that he has done, from platters and mugs to vases and bowls.

John gets his clay from Shigaraki, which is known as being one of the oldest regions for pottery in Japan. Then what makes his "firing" unique from other types is that it is all done in a wood burning kiln. He "fires" two to three times a year, depending on his needs. Firing takes about five to six days, and approximately 400 pieces are fired each time. The "firing" process as he explained it, is pretty amazing. He is set to fire between December 26 and December 31 and I would LOVE to go see it in person.

We stopped the tour for a lunch break, which we ate in a tatami room up above his studio.


After lunch we were given a chance to see some of the pottery set to be fired later this month, as well as watch John "throw" a few pieces.
I had been eyeing this one particular one bowl from the moment I saw it. It took me all day to decide, but in the end I just had to have it. This is huge for me as I am very indecisive and until now just haven't found exactly what I was wanting. The top is oval shaped instead of round and it will be perfect for salads or dips. I just love the earthy brown colors. (The picture really doesn't do it justice)


In the car ride home, I had to chuckle with everyone about my first "real" piece of pottery from Japan being made by an American from Michigan. Who would have thought...

Monday, November 16, 2009

Washi Covered Tea Box

Today I decided to try something different from tours and cooking classes and try a washi covered tea box class. Basically you are taking this special Japanese paper and covering a wooden tea box. Imagine a cross between wallpapering and gift wrapping, both of which I am not good at, and you have a washi covered tea box.

There are many different sizes of tea boxes. Our class did the smallest one, which will fit 10 CD cases. You work from the top down, which means you start with the lid, then the lip of the box, the body and then the bottom. More advanced box coverer's can use different papers, cords and other embellishments.

The lid was the hardest. I am horrible at geometry, so imagine my frustration trying to measure, wrap and cover. However, surprisingly, I managed to do a decent job. (sorry the pictures aren't the best quality. I used my iphone, as I had forgotten my camera)

The next part is measuring and cutting the paper for the "lip" of the box. First you have to get the paper just right around the whole lip.

Then you have to tuck under and cut and wrap the corners just right.


Throughout the whole project, you have to keep taking wet clothes and press out all the air bubbles and wipe off all the excess rice glue.


As you can see, there is alot of measuring involved in this project.

Finally, I have my main piece cut out and ready to wrap the box.

Now all that is left is to finish the bottom.
After 3 hours, the bottom is glued on and my box is finally complete. (It is sitting upside down in this picture)

Here is our class's finished products. The two ladies in the front were our teachers –– Debbie and Debbie.

My goal is to make each of the kids a large box to take back to the United States to use as a "keepsake" chest of sorts from our time here. I may need to practice a few more times before I graduate to that project though.